I have an admission to make. My last post featured a portrait photo that I’d taken where I’d actually missed focus on the face. This happened on both the portrait photos I’d taken on the trip, so I had no “good” one to feature, which was a little frustrating.
As the focus was only slightly out, I hit on the idea of using the Remini app to “enhance” the photos and fix the error. This worked really quite well, so I thought I would share the process in case it is of use to anyone else.
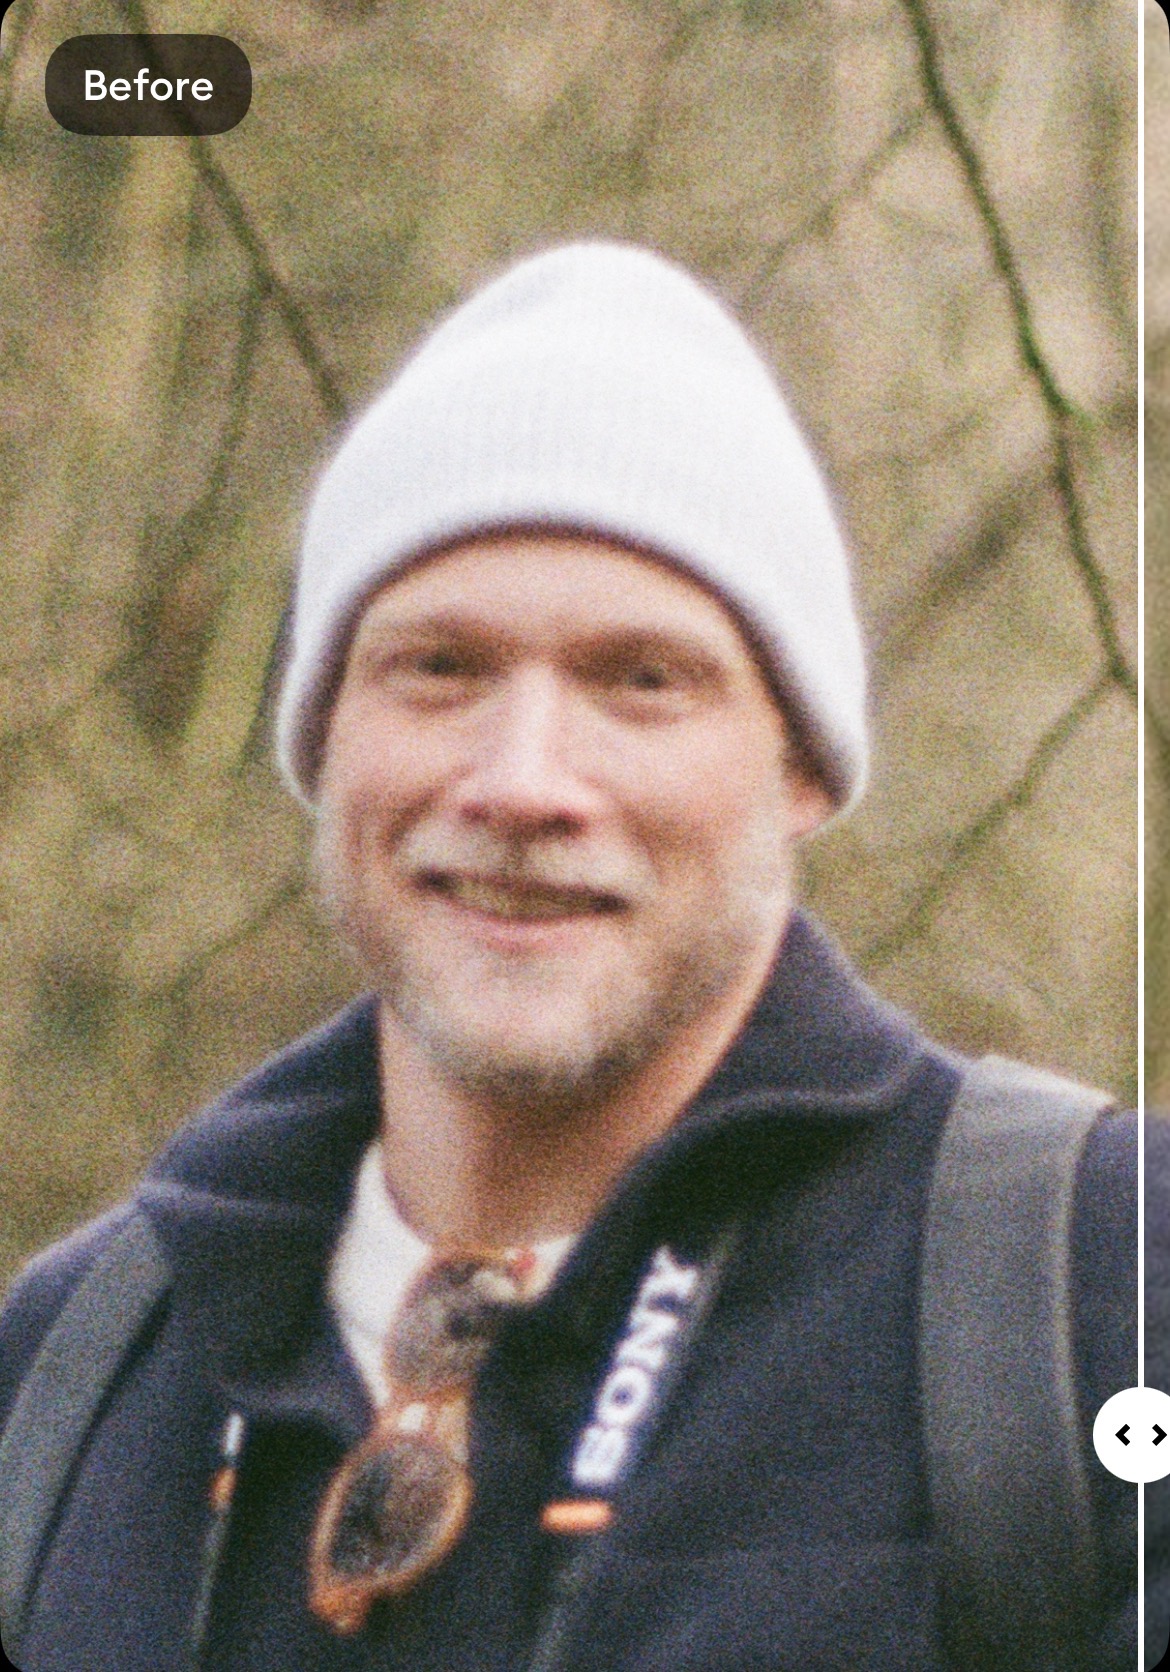
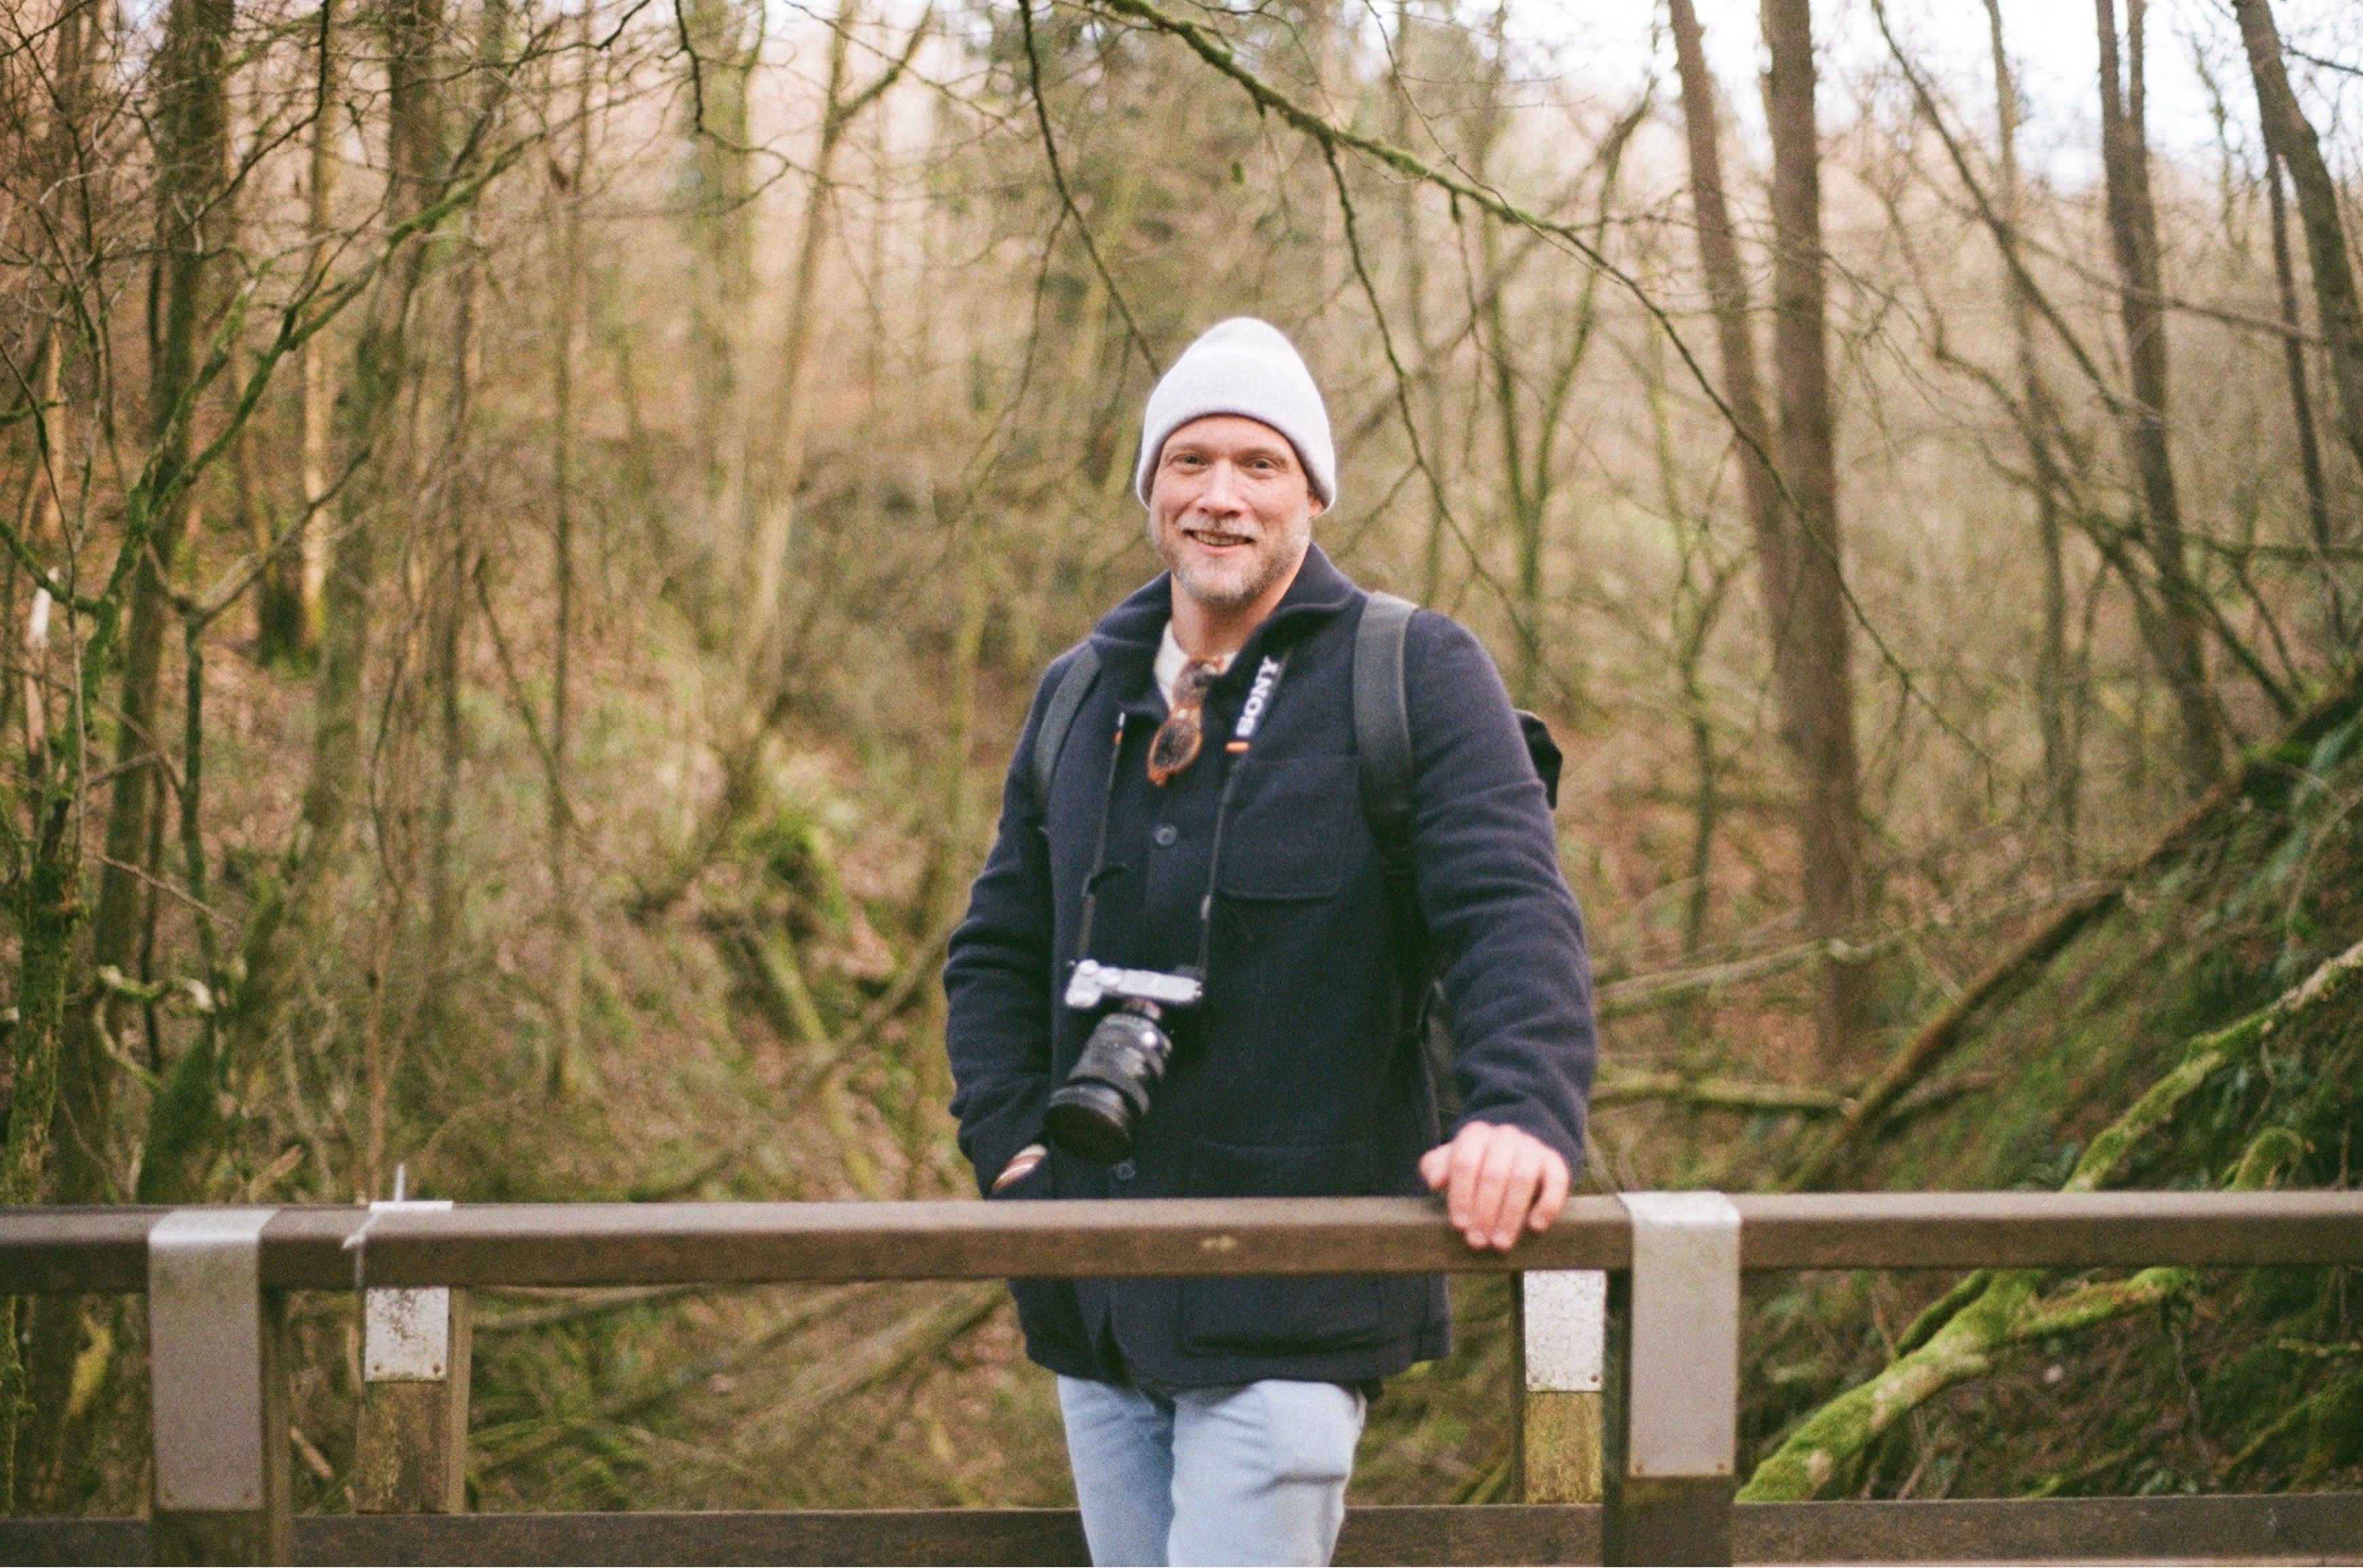
This was one of the original, out of focus images:

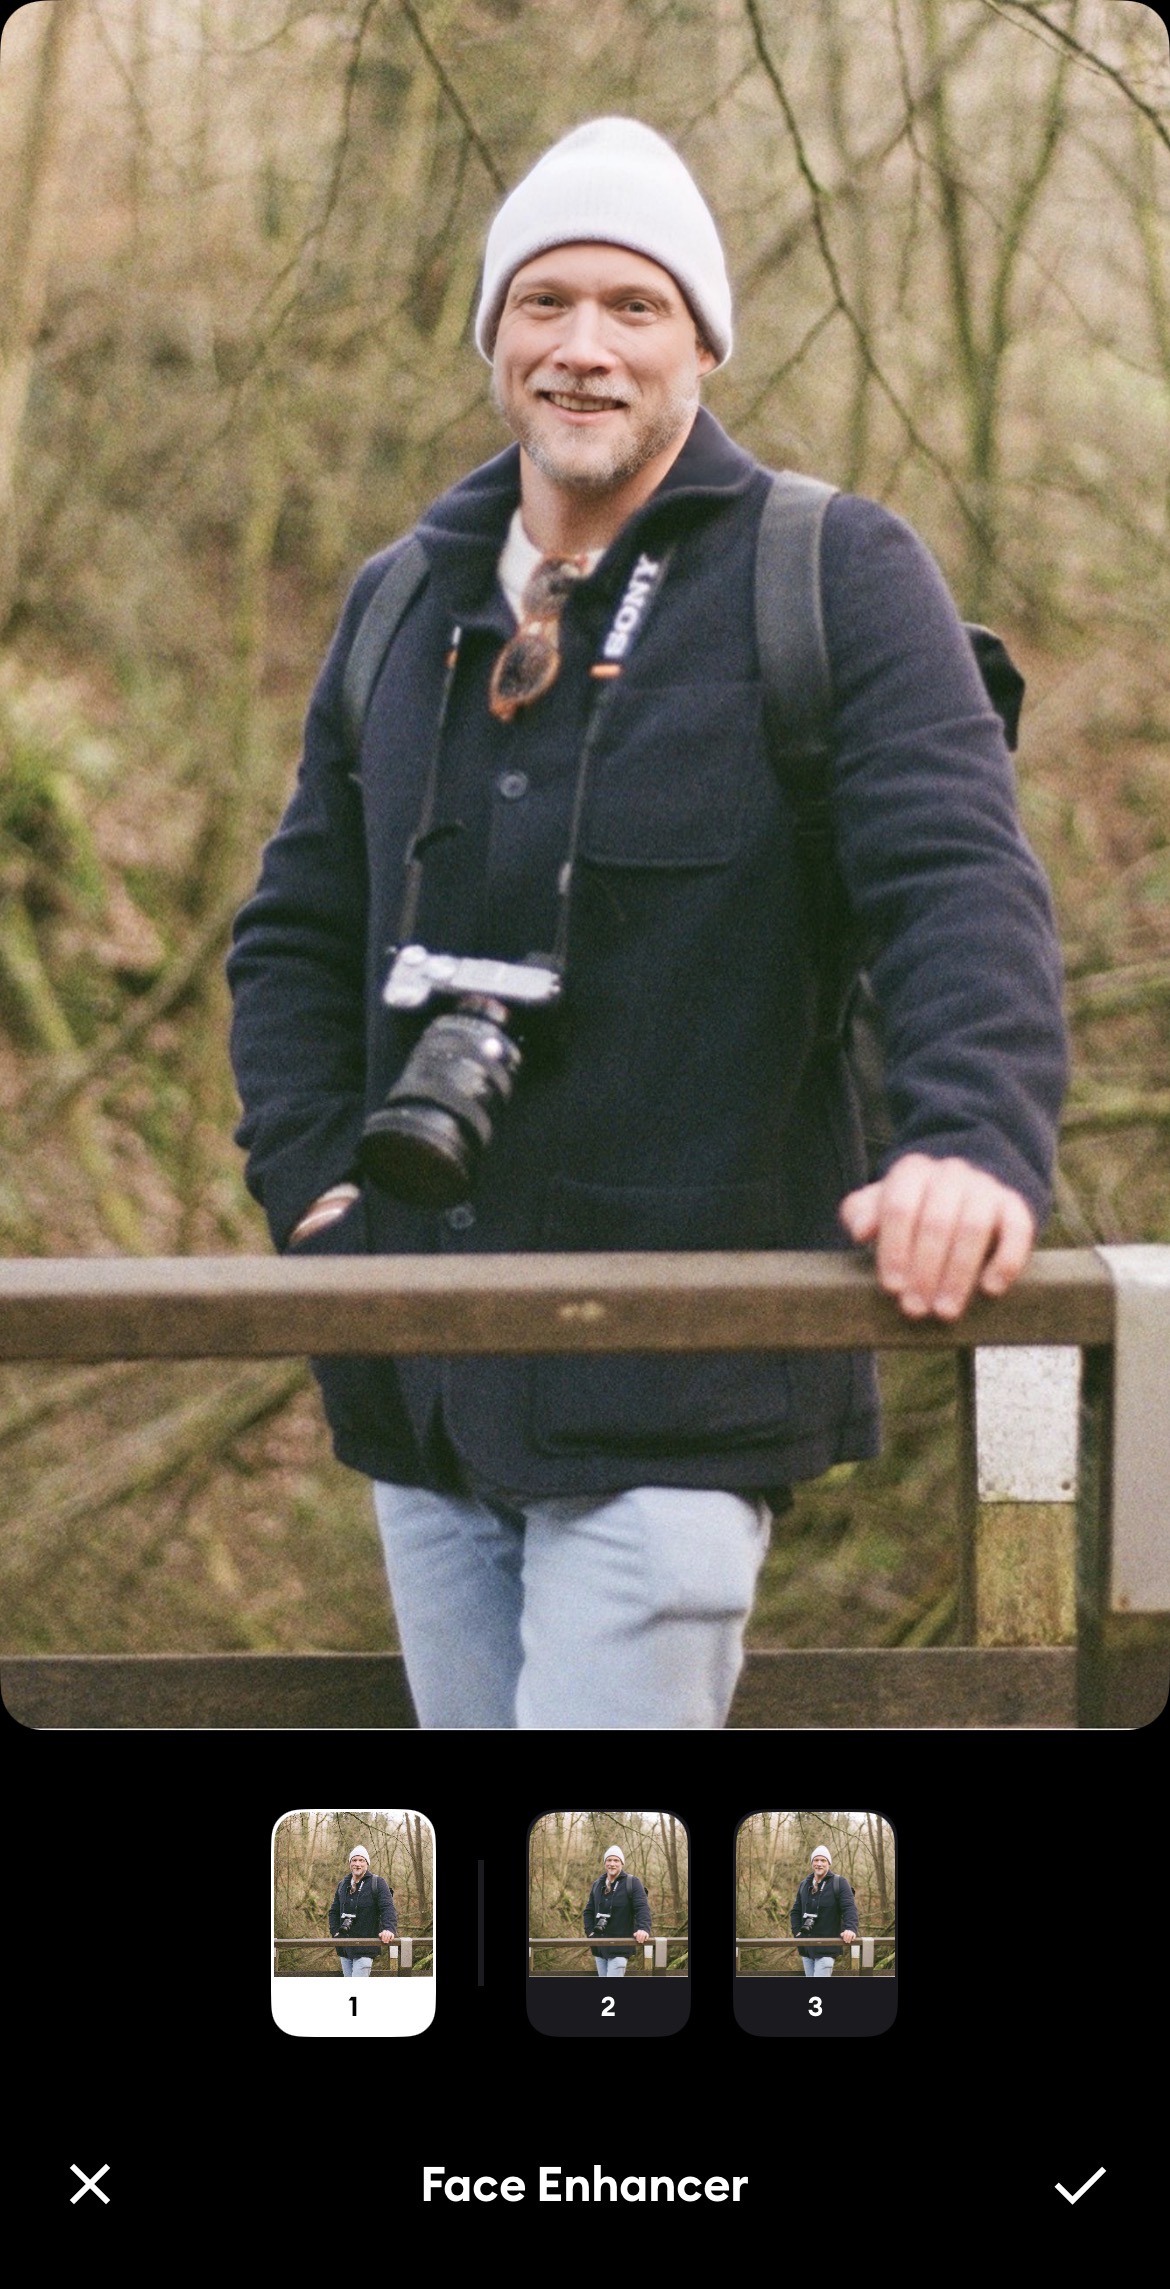
I pulled this into the Remini app – using the one week free trial. I turned off ALL the enhancement features apart from Face Enhancer, as I wanted to minimise the amount of AI trickery that would fiddle with the image.
In Face Enhancer, I just used Option 1. As can be seen this did a decent job of “bringing the focus back”.

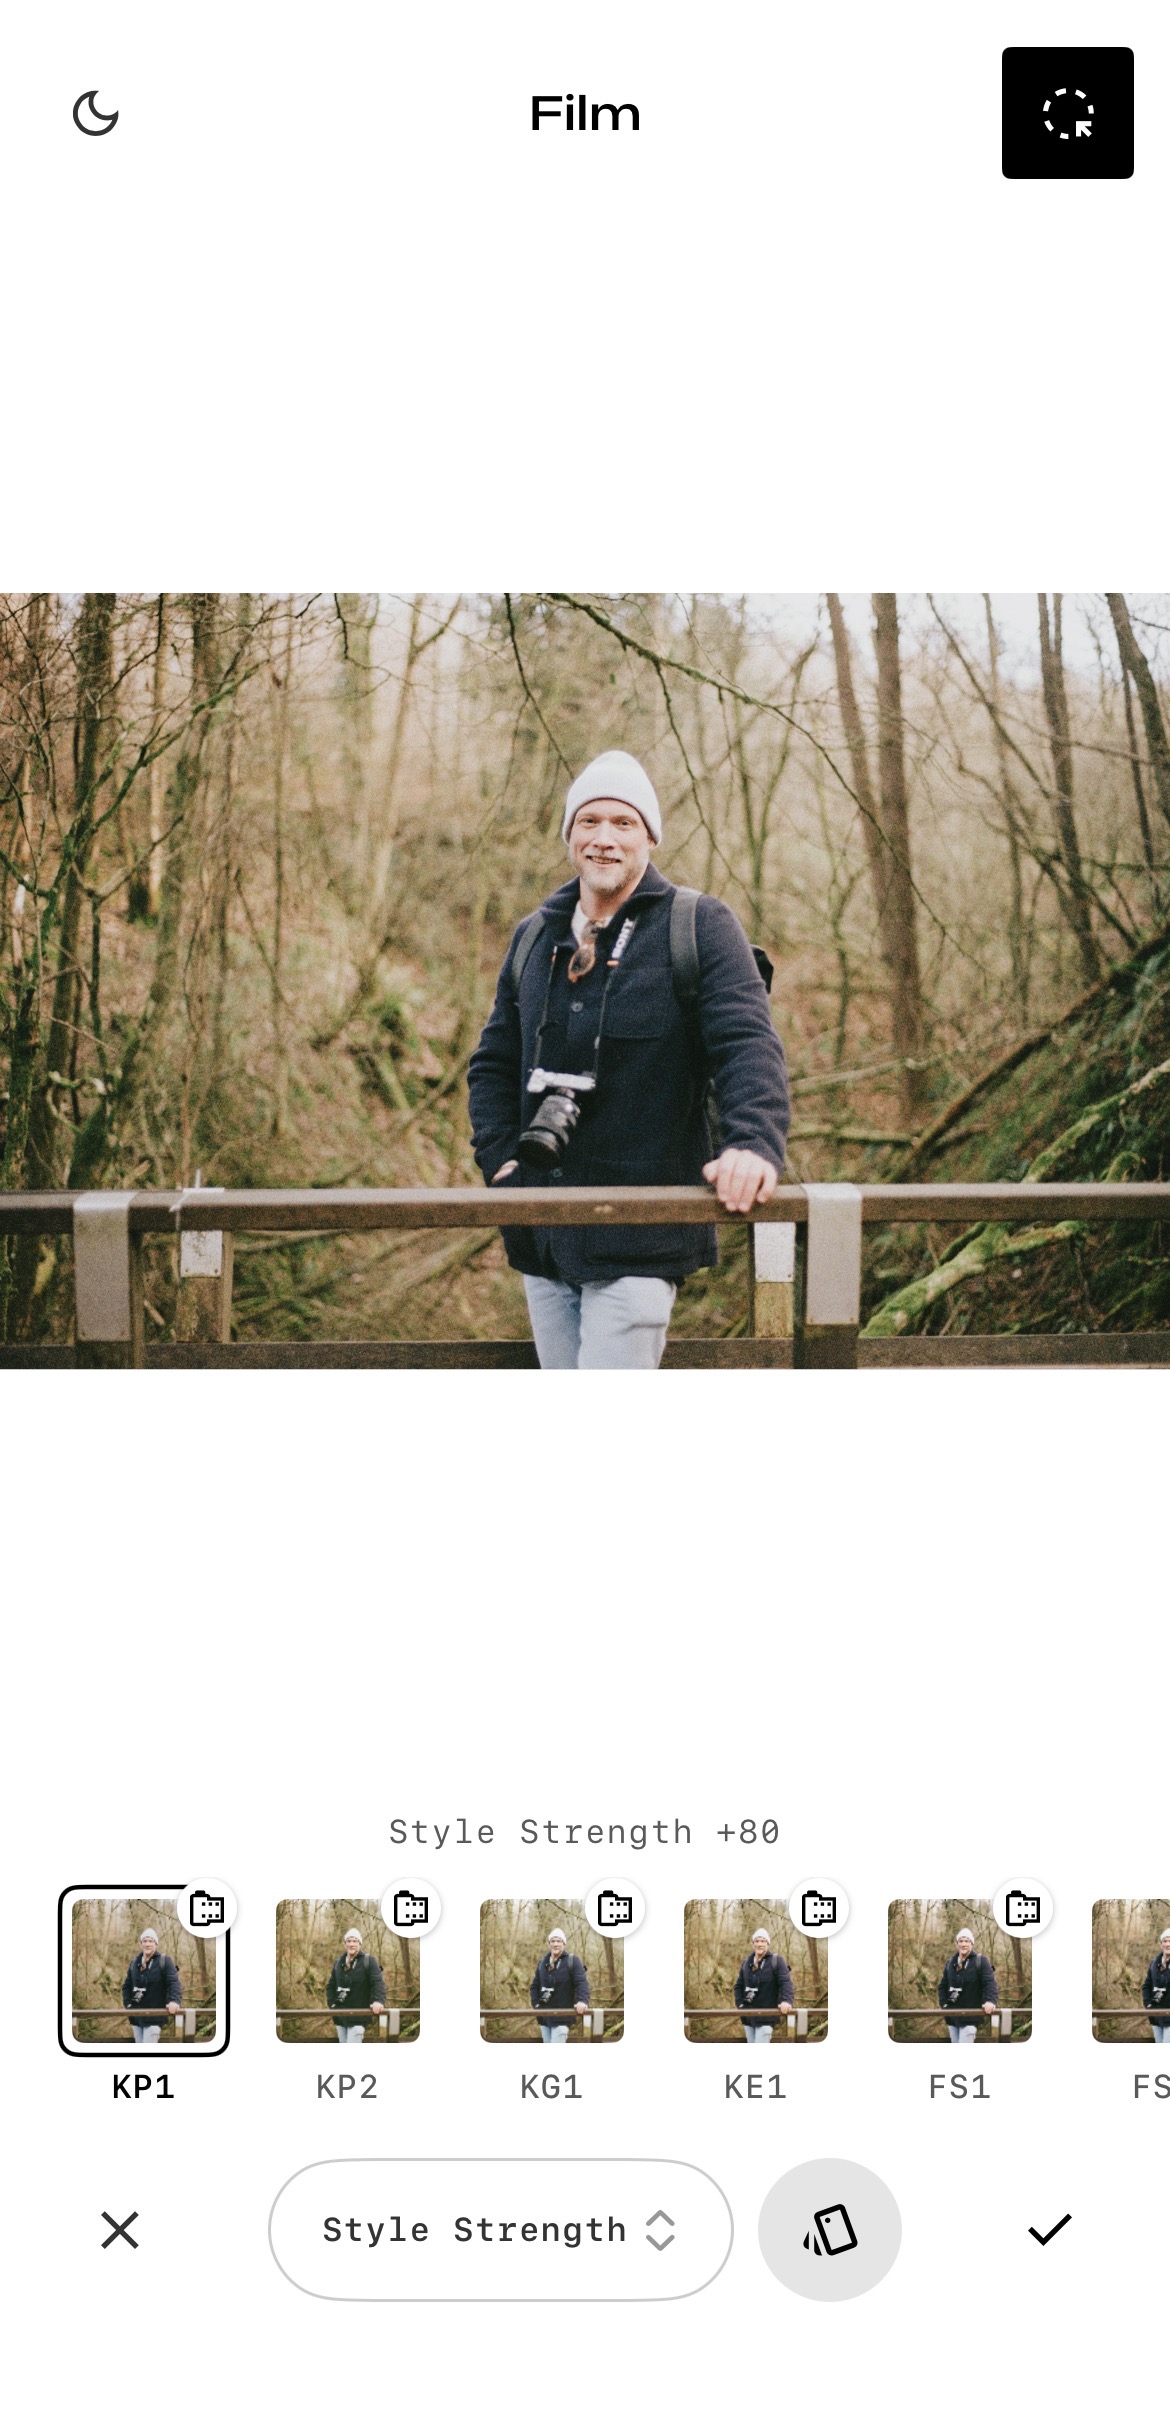
The problem was now that the face appeared TOO clear and unnatural, with all the Kodak ColorPlus 200 film grain obliterated. To fix this, my next idea was to bring the photo into the Snapseed app, and use the Film feature in the Style section to put some grain back into the photo.
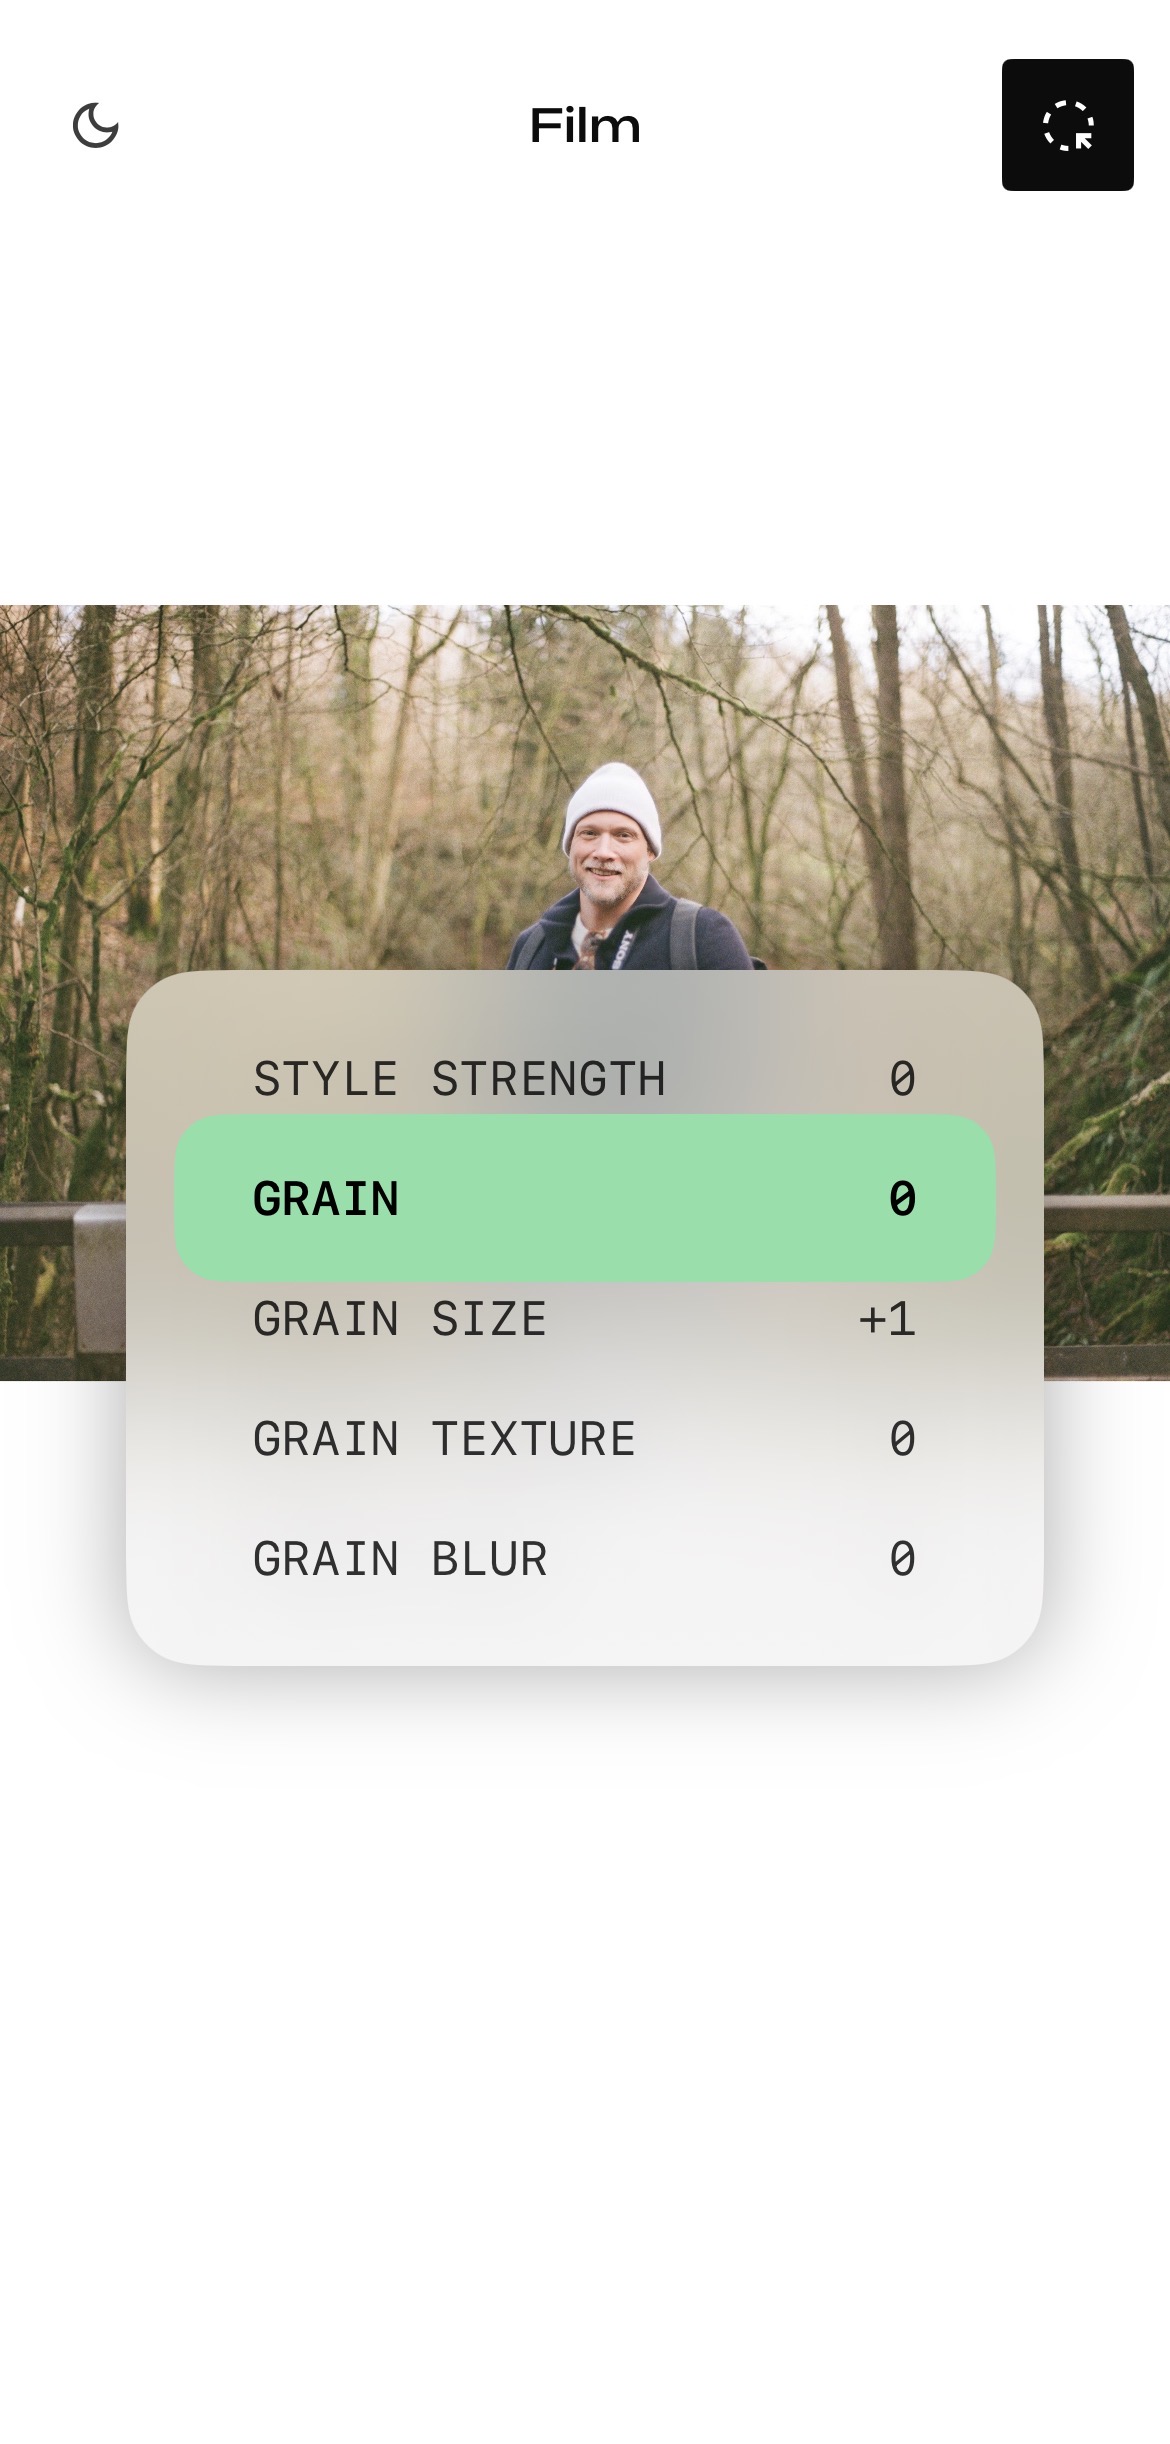
Firstly I just selected a random film style, as I wasn’t planning to use the style (colour/brightness etc) adjustments on the filter, just the grain. Then I turned all the settings down to zero – this is a necessary step due to some sort of bug in the app when using masks:
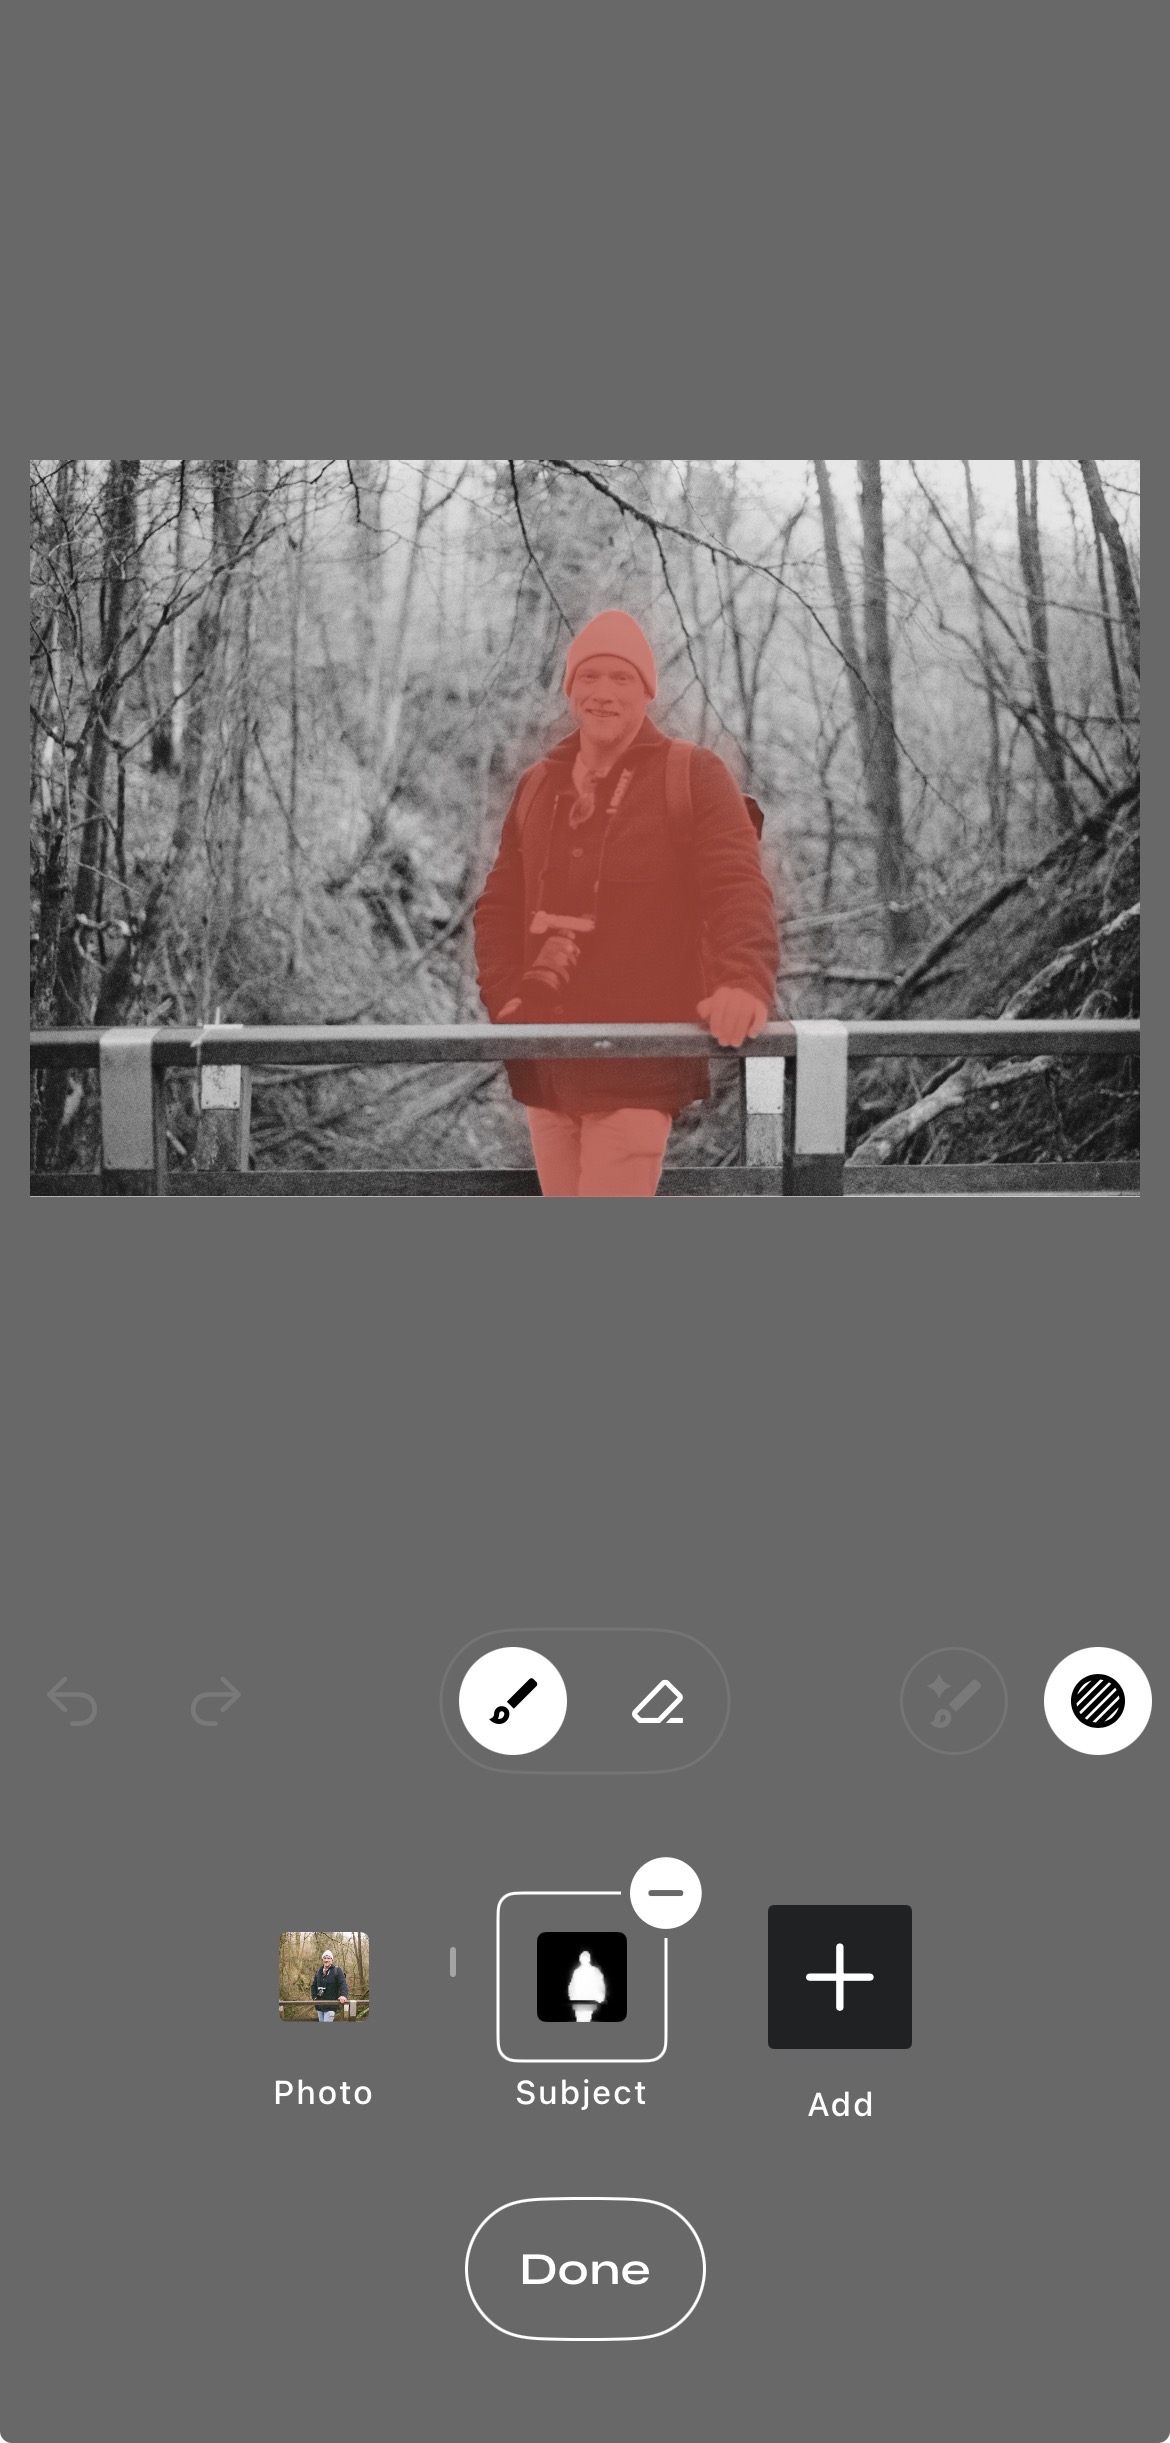
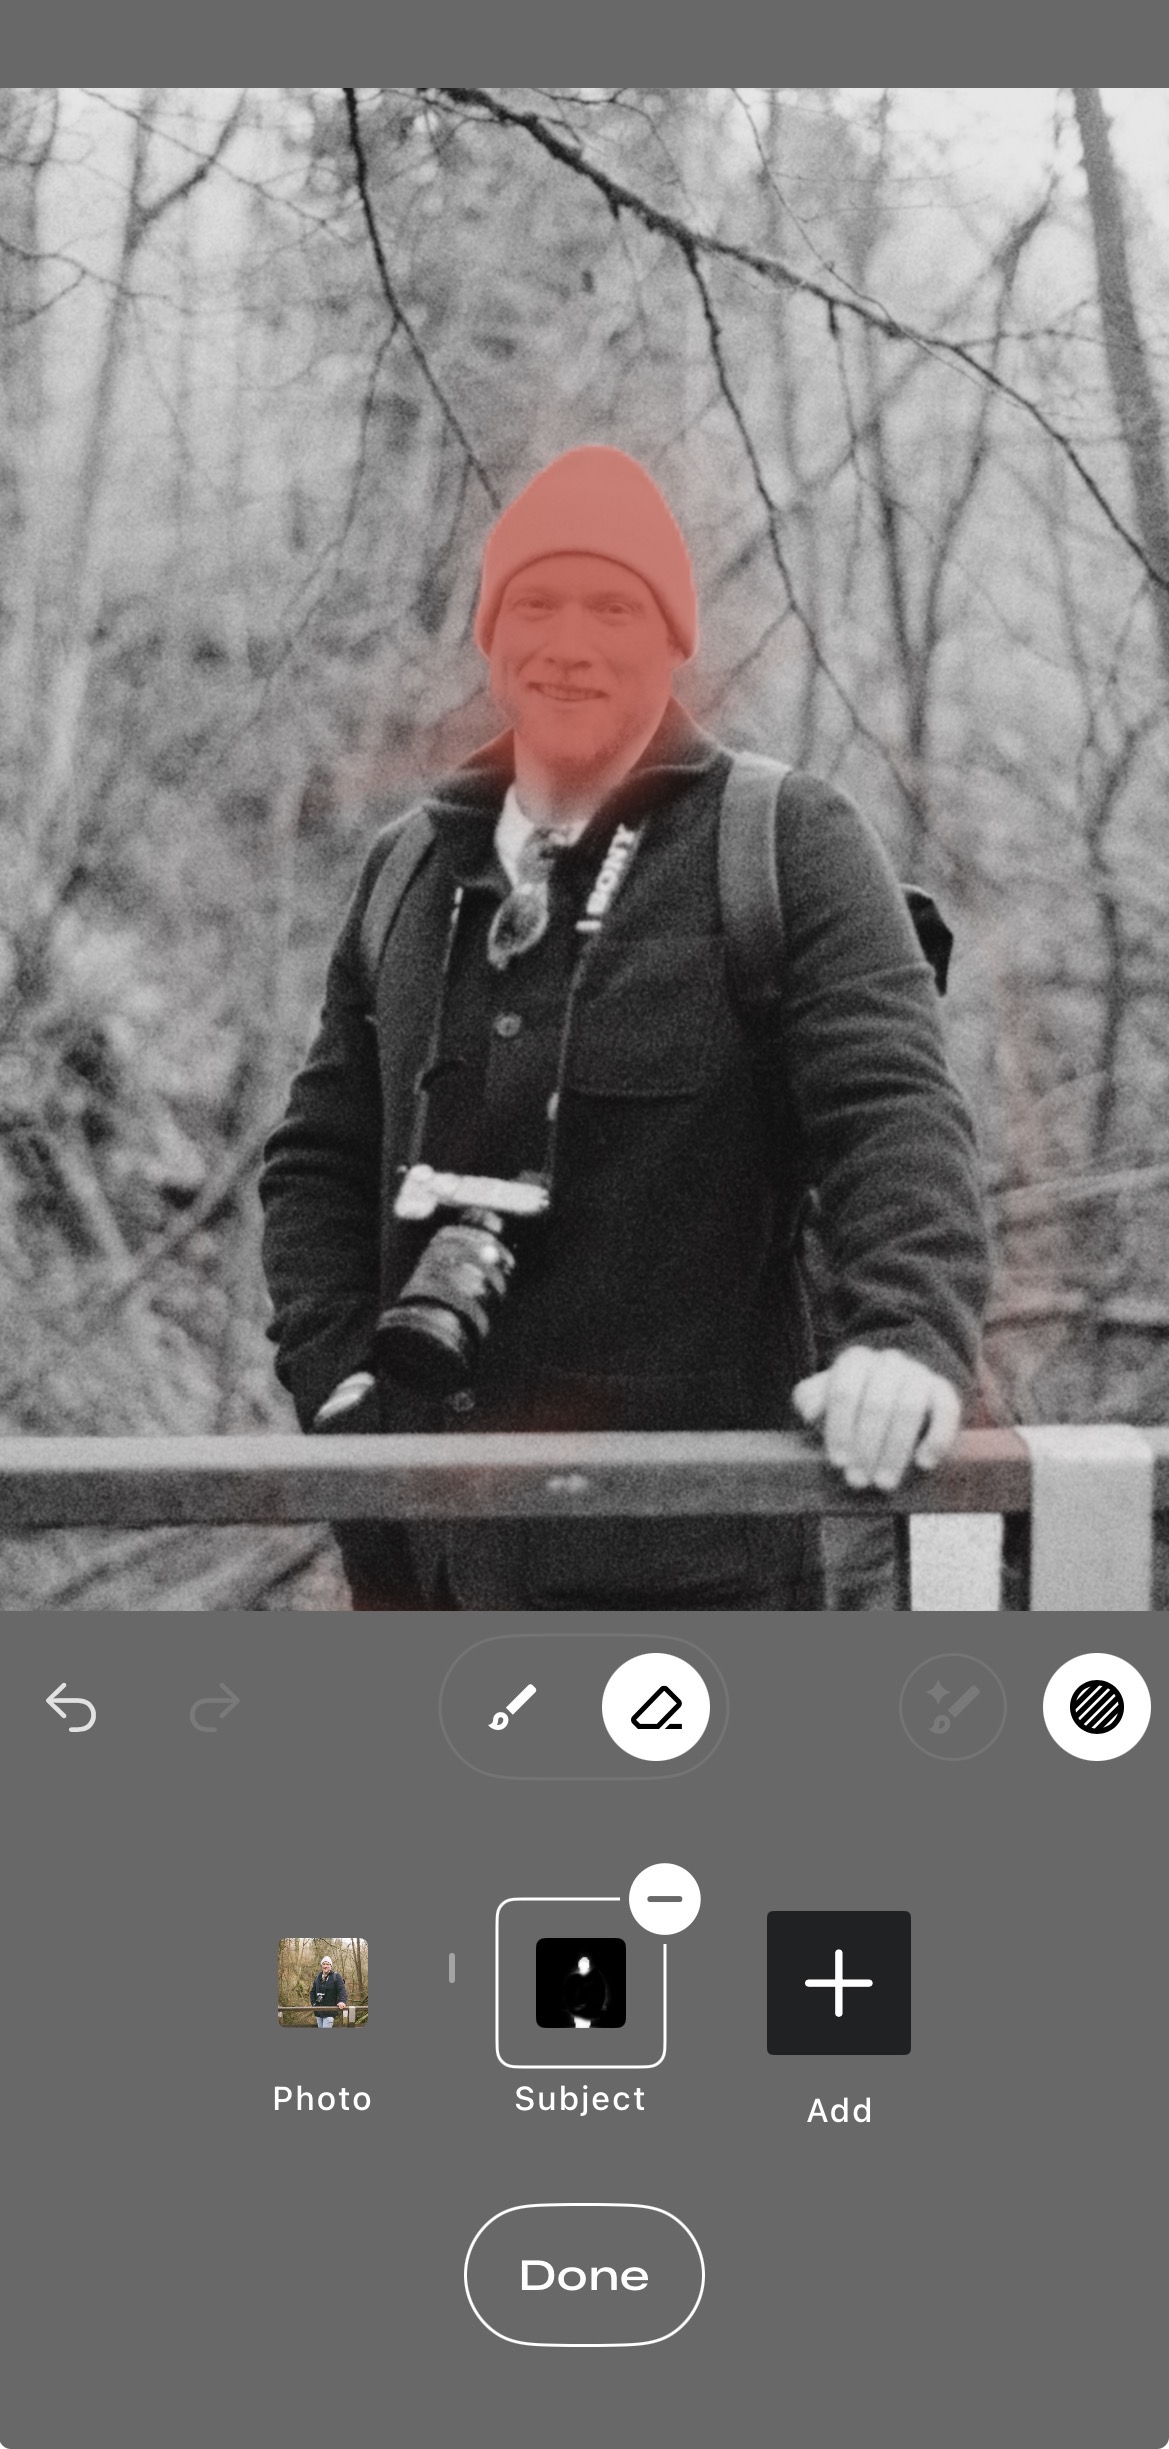
Next I wanted to make sure I only applied the grain back to the face area where Remini has removed it, rather than the whole image. Snapseed now has masking abilities, so I used those to highlight just the face. First I selected “Subject”, and then used the eraser brush to remove the red bit from everything but the face:
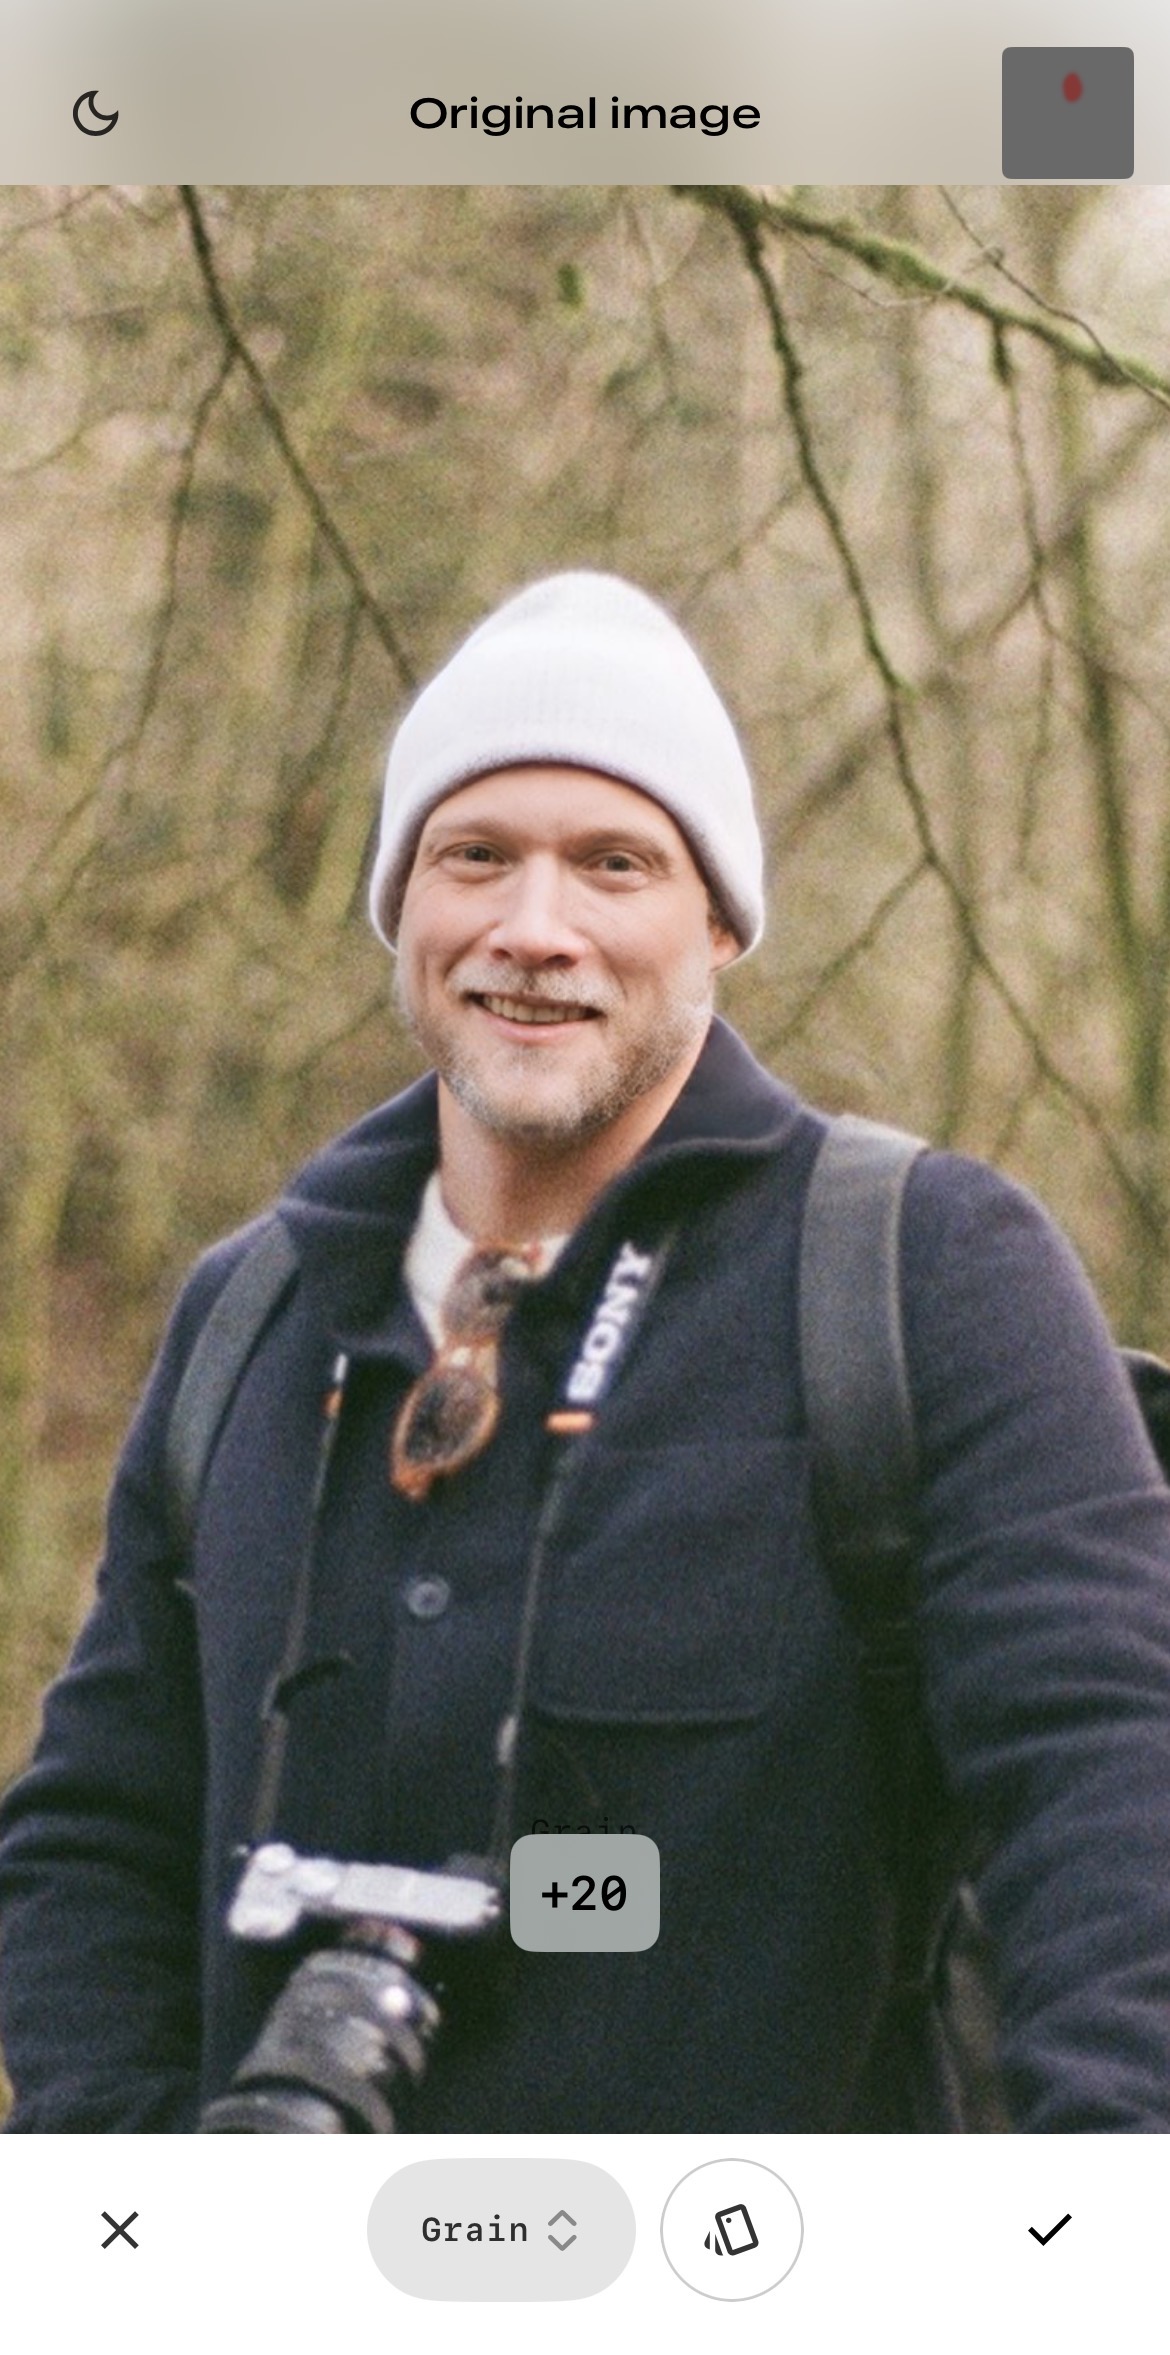
After clicking “Done”, the Style Strength and other dials will all be back to normal settings, but only applied to the red area. I needed to turn the Style Strength back to 0, then slightly adjusted Grain down to 20. This seemed to produce a realistic amount of grain. Below is the comparison without the grain and with:
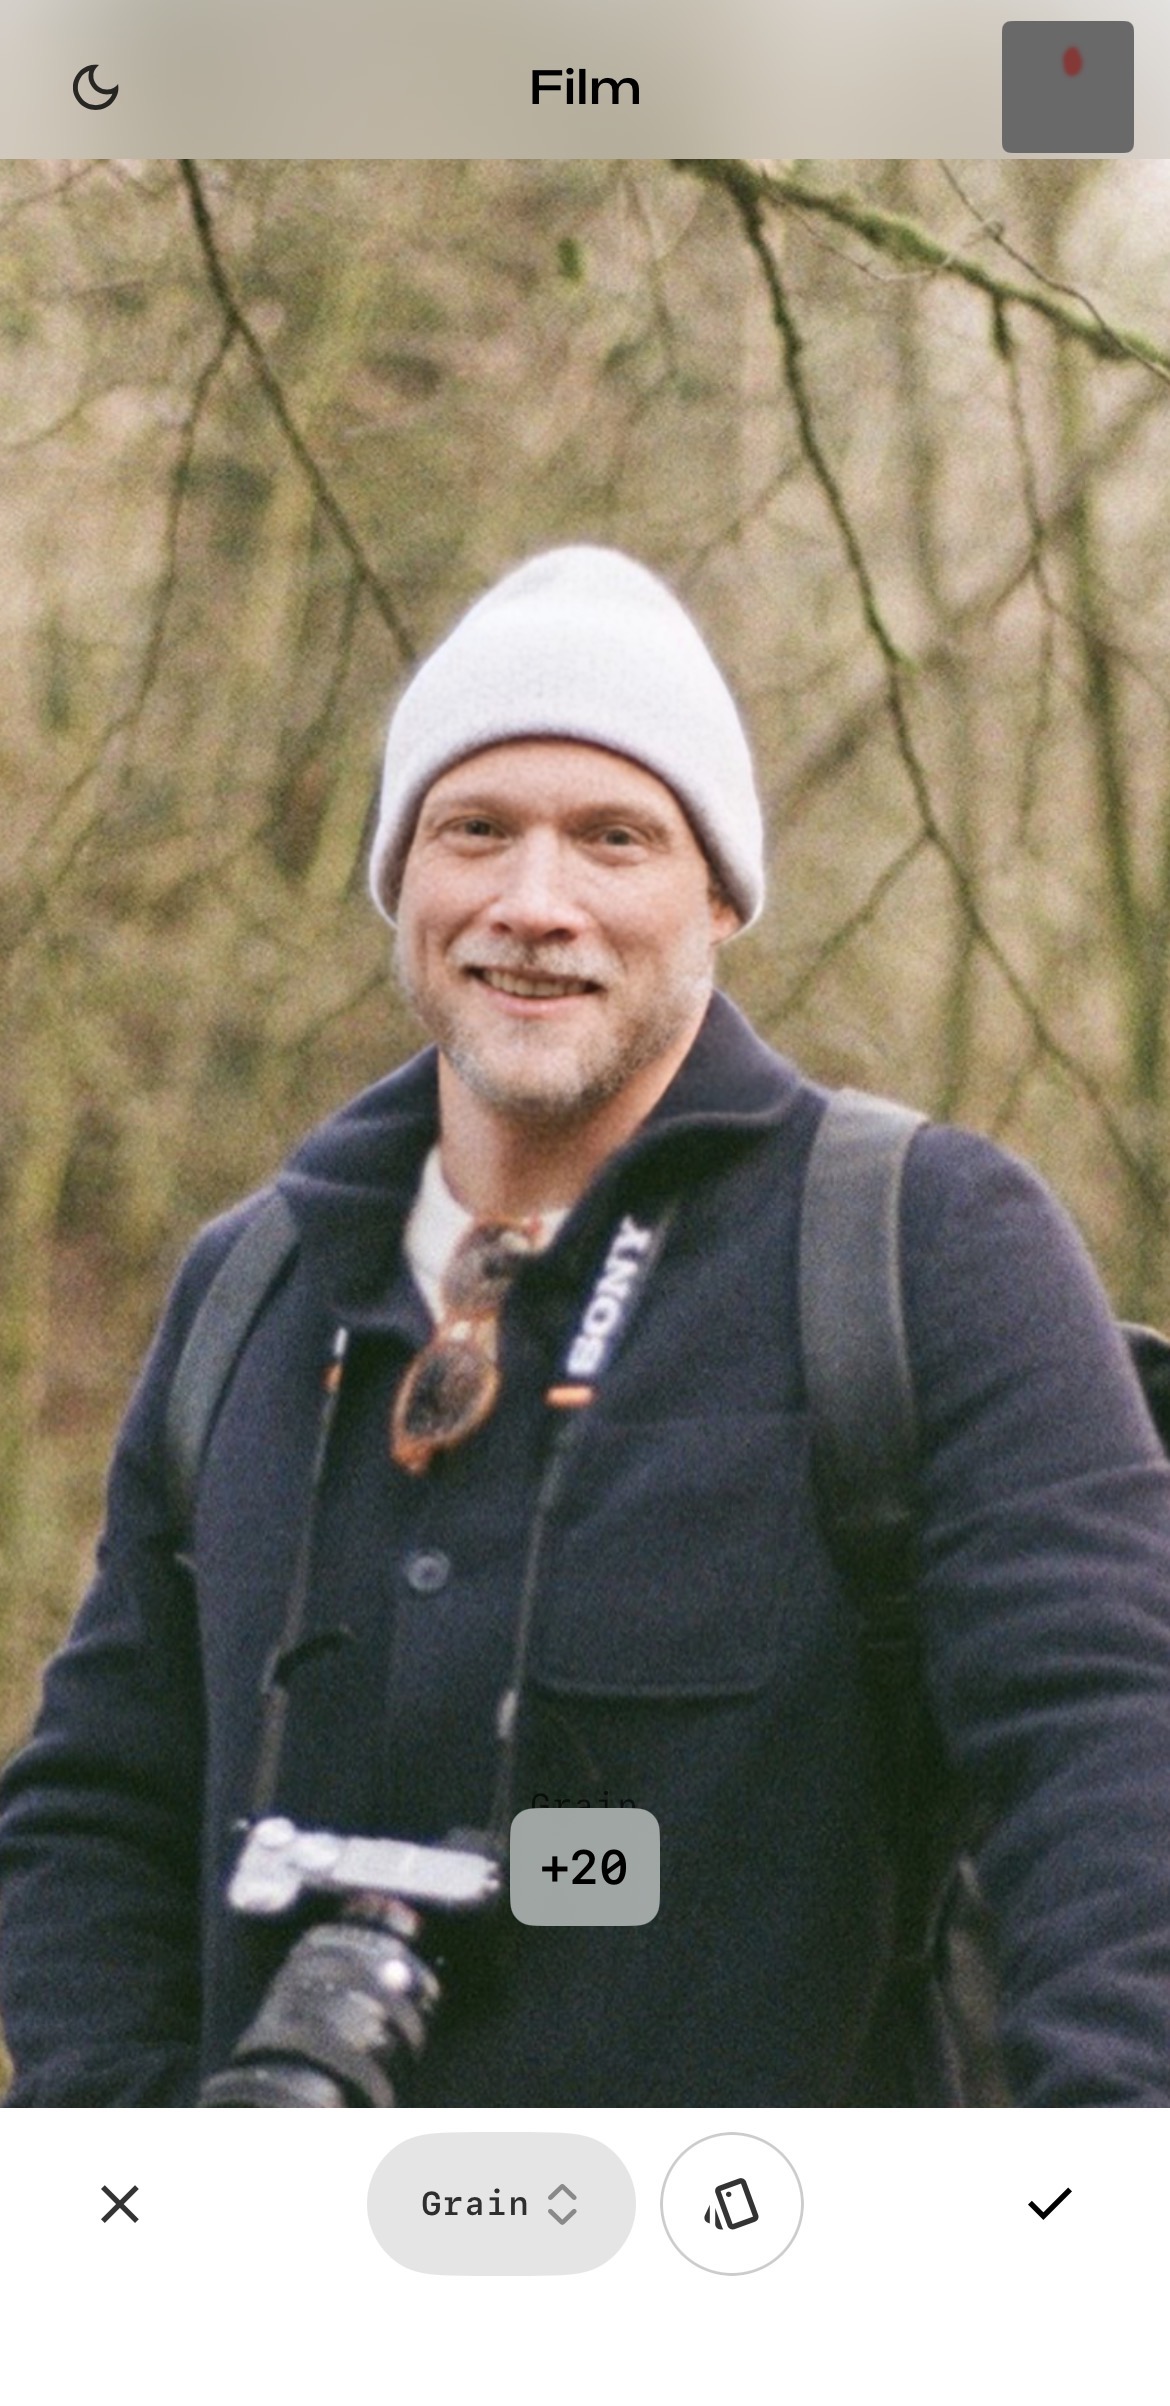
Exporting that back out, I now have a photo that has the subject in focus.
Now obviously many will argue the “recovered” detail is fake and made up, which of course to some extent it is, but here I was satisfied the enhanced image reflected the original expression and moment and merely brought it into a greater level of clarity.
Next time I shall try to do better to get things right as I capture the image, but this is I think a useful cheat to recover a near miss.
