I’ve had my Yashica-635 camera for 20 years, my parents finding it for me at a car boot sale. It’s a twin-lens reflex (TLR), a camera format popularised by Rolleicord and Rolleiflex cameras in the interwar period of the 20th Century. Two lenses sit on top of each other, the bottom one focussed on the film actually taking the picture, and the top lens reflecting the scene being taken onto a ground glass screen on the top of the camera.
Most TLRs take medium format roll film, and in this the Yashica 635 is no different, using 120 film and recording nice square Instagram style 6x6cm negatives. Where this camera is different is that it can ALSO use 35mm film with a special adaptor kit which effectively allows you to suspend a 35mm cartridge in the space the roll film should occupy by way of plastic extenders. Unfortunately I have temporarily misplaced the kit that came with my camera (It’s at the bottom of my Monica’s Cupboard somewhere), so will concentrate on the medium format aspects in this particular write-up.
The Camera
The camera has an 80mm (44mm equivalent) f/3.5 Yashikor 3-element lens. The iris can be stopped down to F/22, and has a continuous movement which means you can do half/quarter f=stops if you so wished. Shutter speeds run from 1/250th second to 1/2 a second, along with a B option for long exposures. These adjustments are made with two small thumbwheels positioned between the two lenses, with a small window above the viewing lens indicating what the settings are.

Also on the front panel is the flash sync socket, a lever to choose flash settings, a self timing lever under the taking lens, a shutter cocking lever, and the shutter release.
The side panel to the right (as you’re holding the camera as if you’re taking a photograph) includes the film winder, a chunky focussing knob, and a little window showing the number of exposures left.


The left hand panel features an accessory shoe, and 3 knobs and a button relating to using 35mm film with the camera.
The top panel folds up to reveal the ground-glass viewing screen. The camera is designed to be held at chest or waist level, with images composed looking down into the camera. A flip up magnifying glass can help precise focussing. A crude “sports finder” viewfinder is also available by pushing the top panel right through, holding the camera to eye-level and peeping through a hole in the back.


Underneath the camera is a large dial that opens the film loading compartment. A roll of 120 film is easy enough to load, clipping into the lower chamber, the film is then pulled over onto a spool in the upper compartment, and wound on until a line on the backing paper comes level with the two red triangle markers in the middle of the film plane.
The door is then swung shut and you use the winder on the side to advance the roll until a 1 appears in the little window – now the Yashica-635 is ready to go.

Taking Photographs
There is no getting around the fact the camera, and any TLR like this, is a clunky, anachronistic device to be carrying around with you in the early 21st Century. Whereas a film SLR still looks and operates in a way similar to a modern digital device, with this I feel self conscious every time I take it out.
Composing an image from chest height takes some getting used to. Some claim it’s more discreet than holding a camera up to your face, but I’m not entirely convinced. It’s like having the front panel of a 1960s style Cyberman attached to you, bouncing on your stomach as you walk along.
In terms of actually framing an image, there are two main difficulties. Firstly the reflected image on the screen is nowhere near as bright and high contrast as an LCD screen, so you really have to study what you’re seeing. Secondly, the image is flipped horizontally, so by instinct you will go to move the camera to one side to compose your picture, whereas you’ll actually need to move the other way. This is probably the most difficult aspect of operation.
I found I mostly needed to use the pop up magnifying glass to be sure of accurate focus, which certainly slows down the picture-taking process. There is no form of exposure meter on the camera, so you have the option of using an external one, or mobile phone app, or using the Sunny 16 method to guesstimate the right settings. As I wanted to keep the process as simple as possible, I mostly opted for the latter.
Just to give myself some leeway, the first couple of rolls I used in the camera (in recent years) were Lomography Redscale XR film, which has an “extended range”, meaning exposures calculated anywhere between ISO 50-200 should give some sort of decent image.
Once the photo is ready to be taken, you have to press down on the little shutter cock lever – the shutter speed must not be changed after that – and then you can press the release button. The leaf shutter is exceptionally quiet, and is so undramatic compared to the almighty clunk of the mirror flap in an SLR, you might almost worry you’ve not taken the picture.
At this point you have to be careful, because there is no mechanism to prevent multiple photos being taken on the same frame – as I found out on my first roll of film with several double exposures. This can of course be used to great creative effect but it can also ruin some very nice photographs. My method after those initial faux-pas became to advance the film immediately after taking a picture so as to avoid repeating the mistake again.
Once all the 12 frames are taken, you just continue to advance the film until you hear it come off the original spool – there is no rewinding with roll film.
The Photographs
Despite owning the camera for about 20 years, the first time I put a roll of medium format film through it was in 2013. This was the Lomography Redscale XR film previously mentioned…


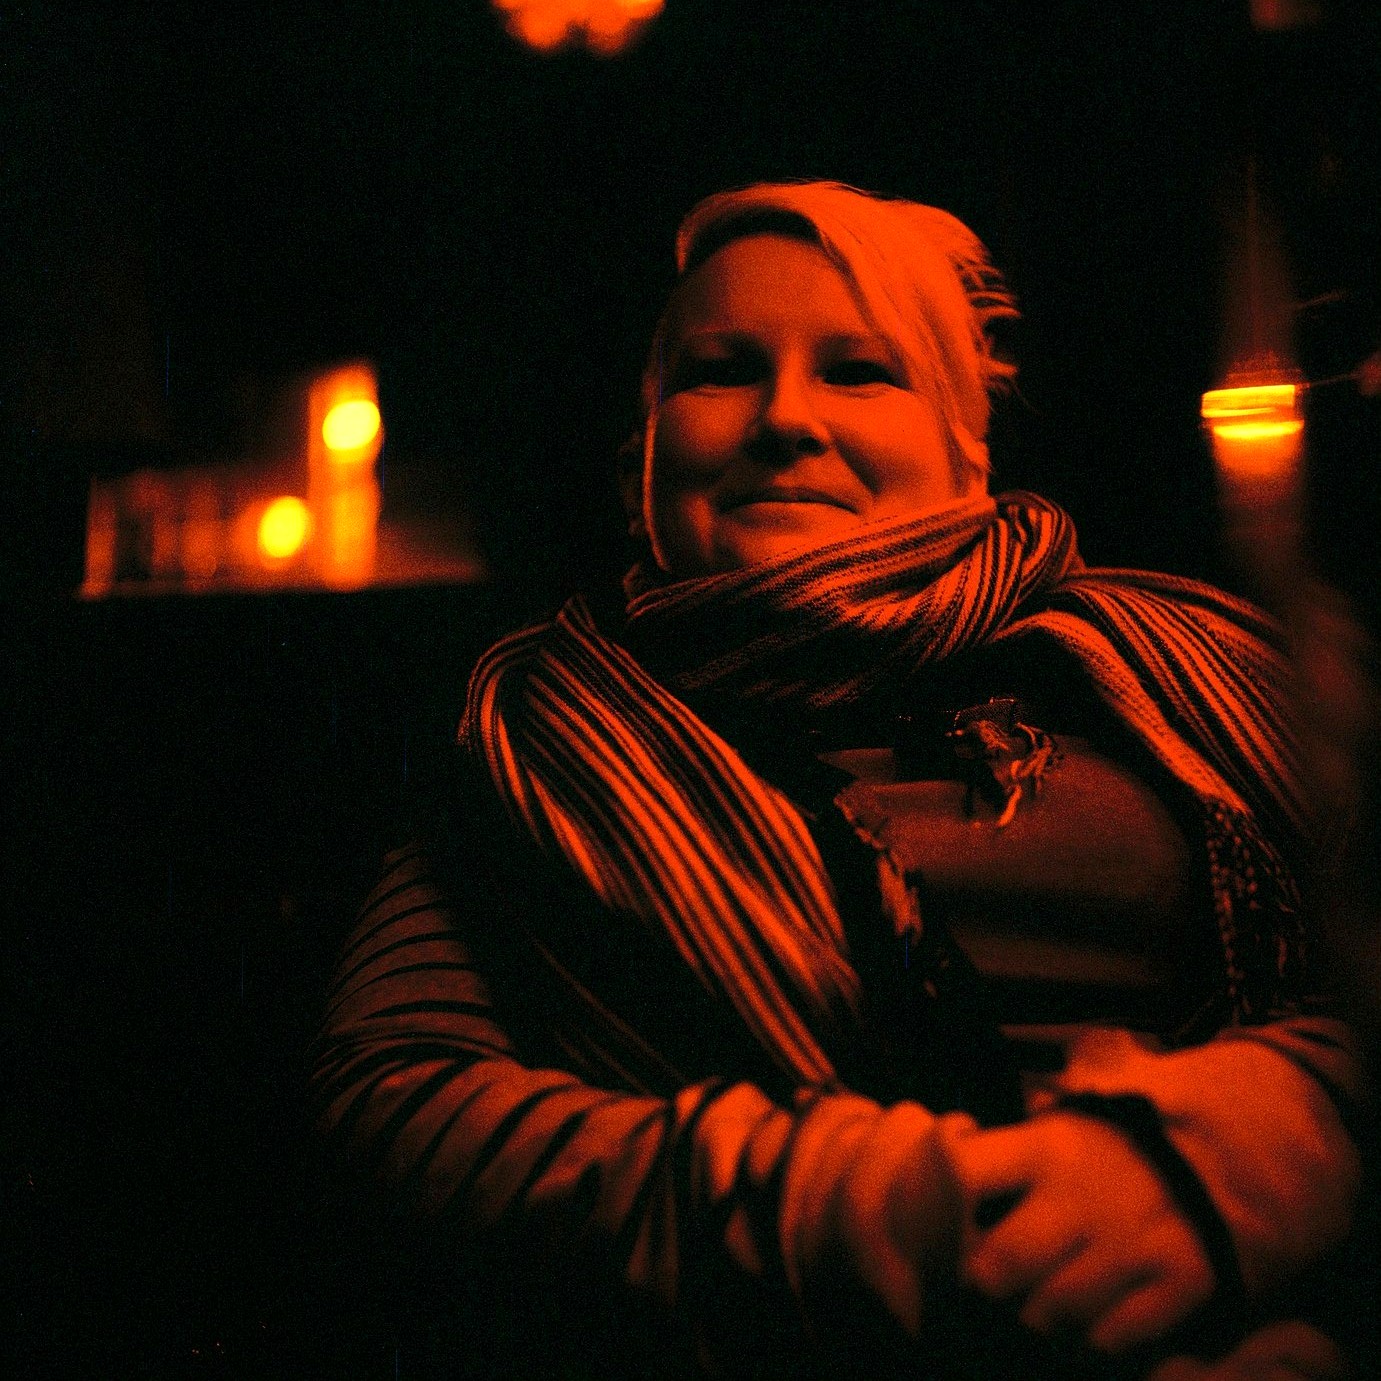
I remember being really happy and surprised by the clarity, vividness and warmth of these pictures, and also by just how many double exposures I’d managed to make! The film obviously veers towards the reds and magentas, especially the more under-exposed it becomes.
The following year I put another roll of the same film through…


These images were taken in Kensal Green Cemetery and by the Thames, I love the shots in the graveyard, so atmospheric and magical. These scans were done by the London Lomo Lab, and I suspect I could get sharper images on my own flatbed scanner.
After a three year break, I brought the Yashica out to play again in Manchester, using black and white Lomography Early Grey film…


I have shared these images in a previous post, I took them shortly before leaving Manchester after a fantastic 9 month stint working there. These are all places that meant something to me whilst I lived in the city. Having developed and scanned these myself, I was really pleased with the quality of the results. The big, bright negatives give such sharp, clear and contrasty pictures.
Finally, this September, I decided to use a roll of proper colour negative film, Kodak Portra 400…


I had been a little generous with the exposure on this set, using Sunny 16 but overexposing by 1 stop “just in case”. As it turns out I needn’t have bothered as some of the negatives were slightly dense but they scanned perfectly well. Seeing these appear on the screen for the first time genuinely astonished me, the Portra 400 looking gorgeous and clear and without excessive grain thanks to the large size of the film. To me these look as good as DSLR images, but with that special extra analogue “something” to make them even better.
It’s difficult to believe these are taken on a half century old “obsolete” form of camera, I’m so pleased with them it makes me want to use the Yashica again and again.
Summing Up
The Yashica 635 is a quirky, bulky, demanding beast of a machine. It is also fun, beautiful, and with some patience and practise, quite easily capable of capturing fantastic quality photographs that hold up to any picture taken on a digital SLR today. If you’re interested in trying medium format, a TLR like this is a very reasonably priced way of giving it a go.

I found my Yashica in a shop in Florida and paid $100 for it. I used it as my main camera for probably 12 years. I found a lab in London who charged £10 to 12 hand spotted 8″ by 8″ prints. The camera was very easy to use and I took a lot of good photos with it. Only time it really showed the weakness of the lens was a set of shots taken from a microlight in the evening as the light was fading where the edges were not so good, in spite of this the the photos were still acceptable blown up to 16 inch square. (some are still on my office wall) I also took a lot of panoramas “Stitching” the prints with a Stanley knife (pre PC software days) These also came out well. The biggest one I have is probably 4 feet wide by 8″ high. My view was the quality of 120 roll film by the time I was using the Yashica was very good so the film helped make up for the relatively low price of the camera. I have always valued simplicity and in my view the Yashica was a great camera and provided me with a lot of great shots for a very reasonable cost.
LikeLike